Toilet shut-off valve repair: a quick DIY guide
A leaking toilet shut-off valve is usually a 30-minute fix. Here's how Colton homeowners diagnose, repair, or replace the valve before it floods the bathroom.
Toilet shut-off valve repair in Colton is usually a 20 to 40 minute job you can do yourself with a wrench, some plumber's tape, and a replacement valve that costs under $15. The valve fails because the rubber washer inside dries out and cracks, or because mineral scale from Southern California's hard water builds up on the stem and stops it from sealing. If yours drips at the handle or weeps where the supply line connects, you can stop it today. This guide walks through diagnosis, the exact repair steps, when to replace instead of rebuild, and what a pro charges in 2026 if you'd rather hand it off.
What a toilet shut-off valve does and why it fails
A toilet shut-off valve is the small fixture on the wall or floor behind your toilet that controls water flow to the tank, and it's the first thing you close before any toilet repair work. It sits between your home's supply line and the toilet's fill valve, and it takes about a quarter turn to shut the water off completely. Every toilet in Colton has one, and most of them are the same compression-style angle stop that's been standard since the 1980s.
Three things kill these valves. First, the rubber washer at the stem hardens and cracks - that's what causes the slow drip at the handle. Second, Colton's water runs hard, roughly 10 to 16 grains per gallon depending on which part of the city you're in, and that mineral load coats the valve seat with scale until it can't seal. Third, the packing nut loosens over years of use and starts weeping at the threads.
If your valve is more than 15 years old and has never been touched, the odds are good it's already stuck. A stuck valve is worse than a leaking one - it means you can't shut the water off when you actually need to.
How do you know the shut-off valve is the problem?
You know the shut-off valve is the problem when water appears at the valve body itself - at the handle, at the packing nut, or where the supply line threads onto the outlet - rather than at the tank or the base of the toilet. That distinction matters because a leaking toilet repair Colton CA job and a shut-off valve job look similar from a wet floor but need completely different fixes.
Here's the quick test. Dry the valve and the floor around it with a paper towel. Wrap a fresh dry paper towel around the valve body and wait 15 minutes without flushing. If the towel is wet, the valve is leaking. If it's dry but the floor is wet after a flush, the problem is higher up - likely the tank-to-bowl gasket or the fill valve.
Other signs it's the valve and not something else:
- A constant drip at the handle even when the toilet hasn't been flushed in hours
- Green or white crusty buildup on the valve body - that's mineral scale, not mold
- The valve won't turn by hand, or turns but doesn't stop the water
- Water staining on the wall directly behind the valve
If you see staining on drywall, stop and call us. Water behind the wall means the leak has been running longer than you think, and drywall repair is a separate problem from the valve itself.
Tools and parts you need for toilet shut-off valve repair in Colton
Everything you need for this job fits in a small bucket and costs under $40 at any hardware store in the Inland Empire. Buy the parts before you start - you don't want to be mid-repair with the water off and realize you bought the wrong size.
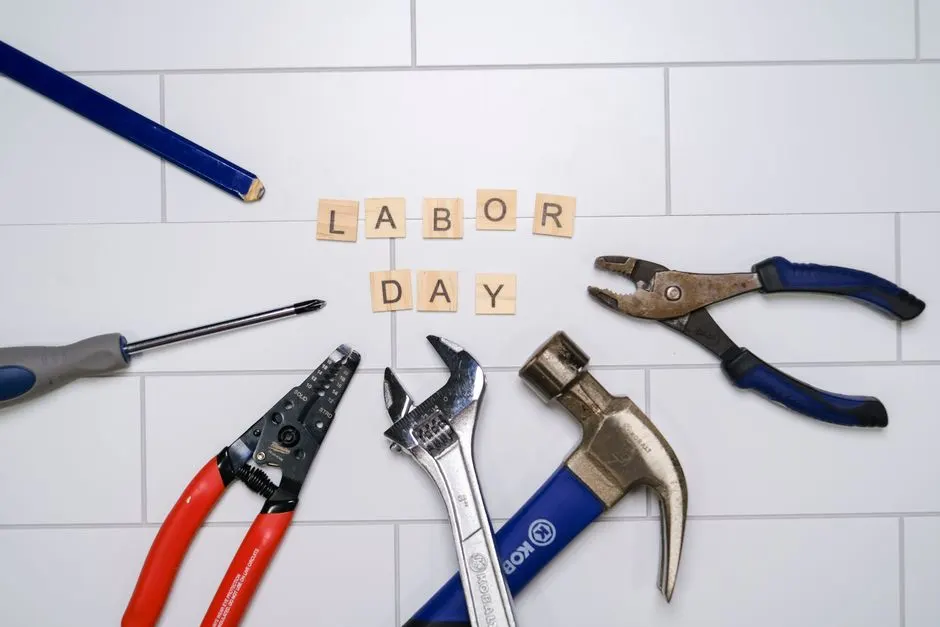
- Adjustable wrench (10-inch works for almost every residential valve)
- Replacement valve - 1/4-turn ball valve or traditional compression angle stop, 1/2" inlet, 3/8" outlet is the standard size in Colton homes
- Teflon tape or pipe thread sealant
- Bucket and old towels
- Flashlight - the space behind a toilet is dark and you'll need both hands free
- Small wire brush for cleaning scale off the pipe stub
If you're only rebuilding the existing valve rather than replacing it, you need a valve repair kit instead - usually $4 to $8 and it includes a new stem washer, packing washer, and nut. If you're not sure which route to take, our team handles toilet water supply line repair Colton CA and can tell you in five minutes whether the valve is salvageable.
Step-by-step: how to repair a toilet shut-off valve in Colton, California
Shut the main water off first - the valve you're repairing is the one that's broken, so you can't use it to isolate the line. In most Colton homes the main shut-off is at the street meter box or at the side of the house near the hose bib. Turn it clockwise until it stops.
Then flush the toilet and hold the handle down to drain the tank and the line as much as possible. Put a bucket under the valve and crack the supply line nut loose with your wrench. Expect a cup or two of water - that's normal.
If you're rebuilding the existing valve
- Unscrew the packing nut at the handle (turn counterclockwise).
- Pull the stem straight out. If it won't come, wiggle it gently - don't force it.
- Inspect the rubber washer at the end of the stem. If it's cracked, flattened, or crumbling, replace it.
- Wrap the stem threads with two to three turns of Teflon tape.
- Reassemble in reverse order. Tighten the packing nut snug - not gorilla-tight, or you'll crack the valve body.
- Turn the main water back on slowly and watch for drips for two full minutes.
If you're replacing the valve
- Disconnect the supply line from the valve outlet.
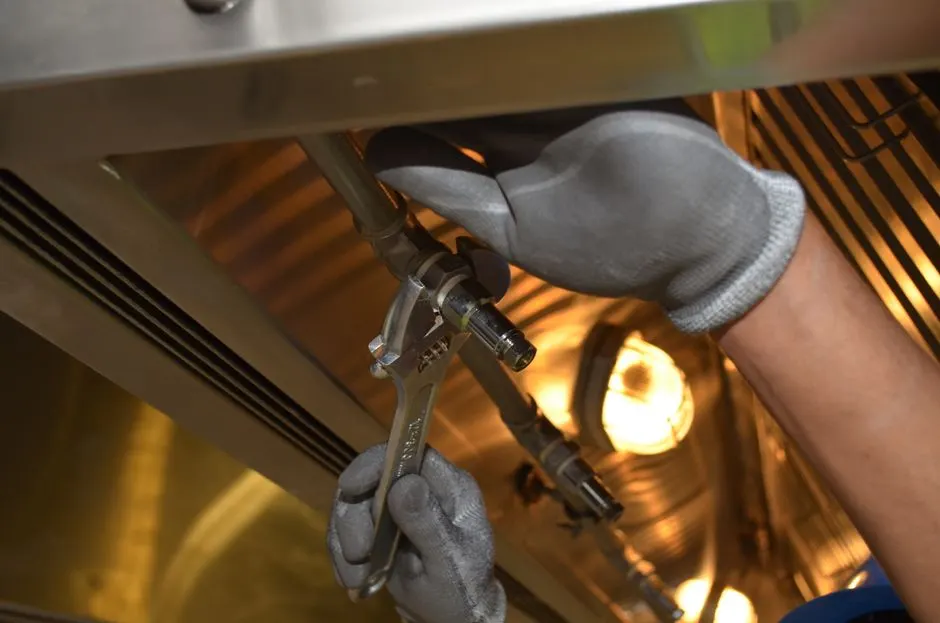
- Hold the pipe stub with one wrench and turn the valve body counterclockwise with the other. Two wrenches, always - one to hold, one to turn.
- Clean the pipe stub with the wire brush. Any leftover scale or old tape will cause the new valve to leak.
- Wrap the stub threads with Teflon tape, three turns clockwise.
- Thread the new valve on by hand until snug, then tighten one half-turn with the wrench.
- Reconnect the supply line, turn the water on slowly, and check both connections.
If the valve is old and the pipe stub is corroded, replacement is the smarter call. A rebuild on a 25-year-old valve usually fails again within a year.
When replacement beats repair
Replace the valve instead of rebuilding it whenever the body is corroded, the stem is bent, or the valve is older than 15 years. Rebuild kits are cheap, but they only fix the washer - they don't fix a pitted seat or a cracked body, and those are the failures that flood a bathroom.
Also replace if you're already doing other work behind the toilet. If you're swapping a toilet fill valve repair Colton CA or replacing the flapper, the valve is right there and it's a $12 part. Doing it now saves you pulling the toilet apart again in six months.
One more case: if your home still has the original gate-style valve from the 1970s or earlier, replace it with a quarter-turn ball valve. Ball valves don't have a rubber washer to fail, they turn a clean 90 degrees, and they last 30-plus years. That's the single best upgrade you can make to a toilet's plumbing.
What a shut-off valve leaking in Colton actually costs in 2026
DIY repair runs $8 to $40 in parts and about 30 minutes of your time. A licensed plumber in Colton charges $150 to $325 for a same-day shut-off valve replacement in 2026, including the part, the labor, and a pressure test on the line afterward.
Here's how that breaks down in this area:
- Rebuild kit only: $4 to $8
- New quarter-turn ball valve: $10 to $18
- New supply line (if the old one is brittle): $8 to $15
- Professional replacement, single valve: $150 to $225
- Professional replacement plus drywall patch if the wall is wet: $275 to $325
Emergency rates after hours run 20 to 40 percent higher. If you're already paying for a service call, ask about a toilet maintenance and tune-up Colton CA while we're there - we check the valve, fill valve, flapper, and supply line in one visit and it's cheaper than three separate calls.
Common mistakes to avoid
The most common mistake is turning the valve too hard when it's stuck. A stuck valve that won't budge by hand needs the water shut off at the main and the valve replaced - forcing it snaps the stem and turns a $15 fix into a $300 emergency.
Other mistakes we see on callbacks:
- Not using two wrenches. One wrench on the valve alone twists the pipe inside the wall and creates a leak you didn't have before.
- Skipping the Teflon tape. Compression fittings need it. Skipping it is the number one cause of a new valve that drips on day one.
- Overtightening. Snug plus a half turn. Any more and you crack the valve body or strip the threads.
- Turning the water back on at full pressure. Open the main slowly. A sudden pressure surge can blow a fitting that was fine.
- Ignoring a slow drip. A valve dripping once per second wastes about 3 gallons a day - over 1,000 gallons a year, and it rots the subfloor under the toilet.
If you've already made one of these mistakes and now the pipe stub is damaged, stop. That's a wall-open repair and it's not a DIY job.
When to call a professional
Call a professional when the pipe stub is damaged, when the valve is soldered rather than threaded, or when you've already tried a rebuild and it still leaks. Soldered valves are common in Colton homes built before 1985, and cutting and re-sweating copper is not a homeowner job.
Also call if the valve is behind a wall panel, if you see water staining on drywall or baseboards, or if the toilet sits on a slab and the valve comes up through the floor. Those situations turn a 30-minute repair into a half-day job with drywall or tile work involved.
Our team handles this every week across Colton - from the older homes near Reche Canyon to the newer builds off Valley Boulevard. We find the leak, fix it, and pressure-test the line before we leave. If you'd rather not crawl behind the toilet with a wrench, we can usually be there the same day.
Frequently Asked Questions
How do I repair a toilet shut-off valve in Colton CA?
Shut off the main water, drain the tank, and disconnect the supply line. For a rebuild, unscrew the packing nut, replace the stem washer, and reassemble with Teflon tape. For a replacement, swap the whole valve with two wrenches. Either job takes 20 to 40 minutes.
How much does a toilet shut-off valve cost in Colton, California?
The part costs $10 to $18 at a local hardware store. A licensed plumber in Colton charges $150 to $325 for a same-day replacement in 2026, including labor and a pressure test. After-hours emergency rates run 20 to 40 percent higher.
Can I replace a toilet shut-off valve myself in Colton CA?
Yes, if the valve is threaded onto the pipe stub. You need an adjustable wrench, Teflon tape, and a new valve. If the valve is soldered, the pipe stub is corroded, or water has reached the drywall, call a plumber - those cases need more than a DIY kit.
Why is my shut-off valve leaking in Colton?
Hard water is the main cause. Colton water runs 10 to 16 grains per gallon, and that mineral load coats the valve seat with scale until it can't seal. The rubber stem washer also hardens and cracks with age, usually after 10 to 15 years.
How long does a toilet shut-off valve last?
A standard compression valve lasts 10 to 15 years before the washer fails. A quarter-turn ball valve lasts 30 years or more because it has no rubber washer to dry out. If yours is past 15 years, replace it before it sticks.
Get help with Toilet Repair in Colton
If your valve is stuck, soldered, or leaking into the wall, we can take it from here. We handle toilet shut-off valve repair Colton CA and full toilet repair Colton CA across the city, usually the same day you call.
Call +1 (840) 500-1035 and we'll get the water shut off, the valve fixed, and the line tested before we leave.